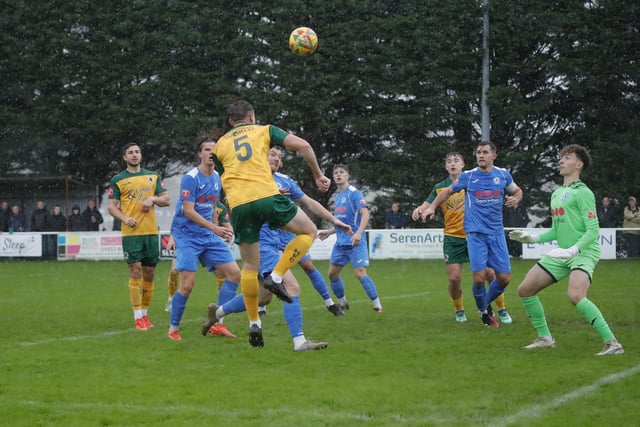
The defender’s brace of headed goals saw the Hornets run out 2-1 winners at a rain-lashed Plain Ham.
Harvey Pritchard netted what proved to be a late consolation goal for Larkhall, who saw Sam Bolton sent off midway through the second half.
The draw for the second round of the FA Trophy takes place tomorrow [Monday, October 20].
Up next for Horsham is the small matter of an FA Cup first round proper date with League One Barnsley on Friday [November 3] evening.
See some of John Lines’ pictures from the game on this page and the ones linked, and read Hornets manager Dominic Di Paola’s thoughts in the West Sussex County Times, out every Thursday.
. Larkhall Athletic 1, Horsham 2 - in pictures
Action from Horsham's FA Trophy win at Larkhall Athletic Photo: John Lines
. Larkhall Athletic 1, Horsham 2 - the match in pictures
Action from Horsham's FA Trophy win at Larkhall Athletic Photo: John Lines
. Larkhall Athletic 1, Horsham 2 - in pictures
Action from Horsham's FA Trophy win at Larkhall Athletic Photo: John Lines
. Larkhall Athletic 1, Horsham 2 - in pictures
Action from Horsham's FA Trophy win at Larkhall Athletic Photo: John Lines
. Larkhall Athletic 1, Horsham 2 - in pictures
Action from Horsham's FA Trophy win at Larkhall Athletic Photo: John Lines
. Larkhall Athletic 1, Horsham 2 - in pictures
Action from Horsham's FA Trophy win at Larkhall Athletic Photo: John Lines
. Larkhall Athletic 1, Horsham 2 - in pictures
Action from Horsham's FA Trophy win at Larkhall Athletic Photo: John Lines
. Larkhall Athletic 1, Horsham 2 - in pictures
Action from Horsham's FA Trophy win at Larkhall Athletic Photo: John Lines
. Larkhall Athletic 1, Horsham 2 - in pictures
Action from Horsham's FA Trophy win at Larkhall Athletic Photo: John Lines
. Larkhall Athletic 1, Horsham 2 - in pictures
Action from Horsham's FA Trophy win at Larkhall Athletic Photo: John Lines
. Larkhall Athletic 1, Horsham 2 - in pictures
Action from Horsham's FA Trophy win at Larkhall Athletic Photo: John Lines
. Larkhall Athletic 1, Horsham 2 - in pictures
Action from Horsham's FA Trophy win at Larkhall Athletic Photo: John Lines
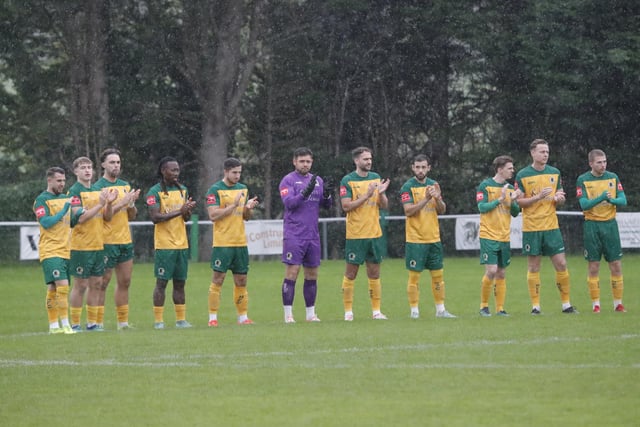
1. Larkhall Athletic 1, Horsham 2 - in pictures
Action from Horsham's FA Trophy win at Larkhall Athletic Photo: John Lines
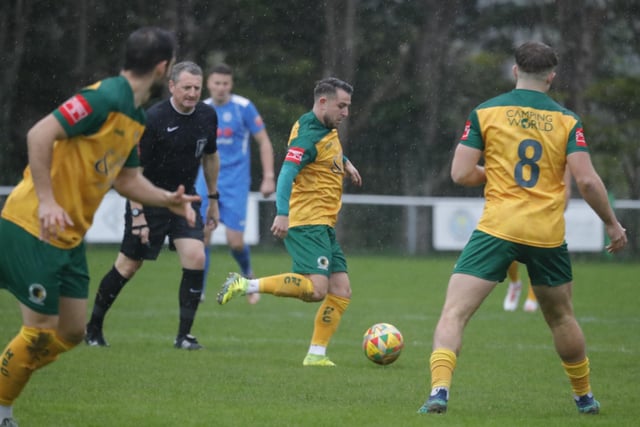
2. Larkhall Athletic 1, Horsham 2 - the match in pictures
Action from Horsham's FA Trophy win at Larkhall Athletic Photo: John Lines
3. Larkhall Athletic 1, Horsham 2 - in pictures
Action from Horsham's FA Trophy win at Larkhall Athletic Photo: John Lines
4. Larkhall Athletic 1, Horsham 2 - in pictures
Action from Horsham's FA Trophy win at Larkhall Athletic Photo: John Lines